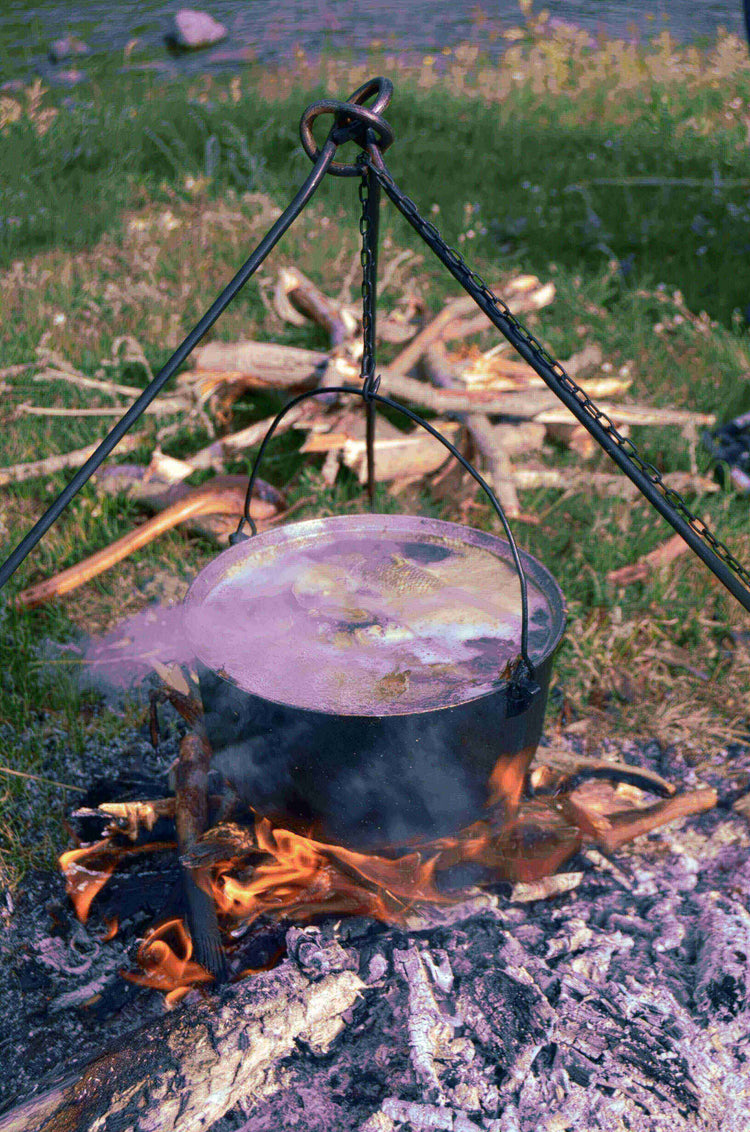
A Dutch Oven is a must for delicious camping feasts! Just about anything you cook in a regular oven -- pies, bread, stew -- can be whipped up in a Dutch Oven, using hot charcoal in your campfire ring. Dutch Ovens are commonly defined to be any covered metal cooking pot. The kind used for camping is made of heavy cast-iron though, has three short legs on the bottom, and a tight fitting lid with a rim to hold coals. Dutch Ovens that do not have legs, are flat on the bottom and have a highly domed basting lid without a rim for coals are called "Bean Pots" or "Kitchen" Dutch Ovens. They can be used with coals, but are better suited to use on a stove top or in the oven.

The only way to successfully cook in a Dutch Oven is to properly season it first. When you buy a new Dutch Oven it is usually coated with a waxy material to protect it. To obtain the desirable non-stick properties of a well-used pot takes a little time and effort. To season your Dutch Oven, wash the Dutch Oven with mild soapy water, rinse, and dry completely. Grease inside and out (pot, legs, and lid) lightly with a good grade of olive or vegetable oil (I prefer solid shortening e.g., Crisco). Do not use lard or other animal products as they will spoil and turn rancid! Do not use a spray in coating, but rather use an oil soaked paper towel or new sponge. Place greased Dutch Oven upside down on oven rack with lid separate and put aluminum foil underneath to catch any excess oil. Bake in a 300-350 degree oven for at least 1 hour (it will probably smoke and stink up your house!). If you'd rather heat it outside to avoid the smell and smoke in your house you can do that also... a gas grill works great for this.

It will take more than this initial seasoning for the pot to obtain the desired uniform black patina (like a satin black bowling ball) that provides the non-stick qualities and protects the pot from rust, but the seasoning on your pot will improve with each use if it is properly oiled and cared for. Re-season your pot regularly and especially if it starts to rust or has a metallic taste -- this is a sign your seasoning has been removed. Repeat seasoning steps if this happens. You should also re-season after storage or if it smells rancid. Once your Dutch Oven is seasoned it should never be scrubbed with soap. Store the oven in a warm, dry place with the lid cracked so air can circulate inside.
Cooking Tips: For easy cleanup, line the bottom and the sides of the Dutch Oven with aluminum foil. Use a wooden spoon to stir, and always cook with the lid on. Unless you like ashes in your food, don't tilt the lid when you remove it. When you do remove the lid or handle any part of the hot oven, use cooking gloves or hot-pot tongs. A Dutch oven seems indestructible, but it will shatter if dropped on hard cement or it will crack if cold water is poured into a very hot Dutch oven. NEVER, REPEAT, NEVER! pour very cold water into an empty hot pot or you may cause permanent damage to the oven (cracking)!
Heat control is the hardest thing to master when learning to cook with a Dutch Oven. Remember to start with moderate temperatures. You can always add more heat if desired or necessary. Be cautious, as most guests don't enjoy burned food! High quality briquettes are recommended. Briquettes provide a long lasting, even heat source and are easier to use than wood coals. Briquettes will last for about an hour and will need to be replenished if longer cooking times are required. Group the smaller briquettes and add new ones (hot) as required to maintain the desired temperature.
Rule of thumb: Each briquette adds between 10 & 20 degrees.
Different types of cooking requires different placement of the briquettes. Here are a few general rules for briquette placement:
For Roasting: The heat source comes from the top and bottom equally. This requires twice as many coals on top as on the bottom.
For Baking: The heat source comes from the top more than the bottom. Place 3 times as many coals on the lid.
For Boiling, Frying, Stewing, Simmering: All of the heat comes from the bottom. All coals are placed beneath the Dutch Oven.
Place the required # of briquettes under the oven bottom in a circular pattern so they are at least 1/2" inside the Dutch Oven's edge. Arrange briquettes on top in a checkerboard pattern. Do not bunch briquettes as they can cause hot spots. To prevent (minimize) hot spots during cooking, get in the habit to lift and rotate the entire oven 1/4 turn and then rotate just the lid 1/4 turn in the opposite direction. Rotate every 10-15 minutes. If you use wood coals, remember that the flame will be much hotter than the coals! Avoid direct flames on the pot or turn frequently. It is important to remember that these tips are only a guide to help you get started. You will need to adjust briquettes (or coals) according to the recipe and keep in mind that the weather, ambient temperature, and ground conditions can affect cooking temperature.
NOTE: For cooking times over an hour additional charcoal may be necessary. Either have another batch ready to go after about an hour and a half or, at about an hour, place unlit briquettes next to those on and under the oven to ignite them.

